
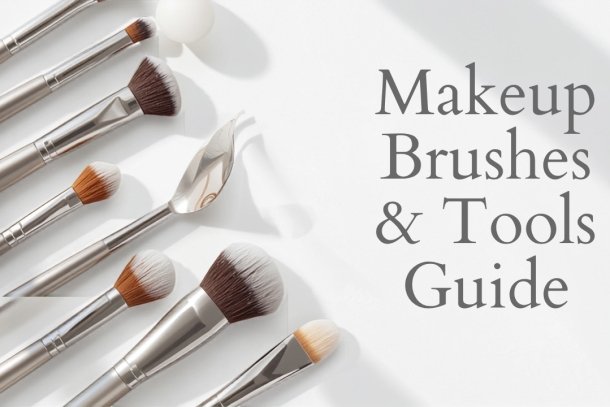
The right tools make makeup easier to apply, faster to blend and far more flattering. You do not need a huge collection, just a few good pieces used well. In this guide, the team at Seda Beauty Salon in Waltham Cross explains the brushes and tools worth owning, how to use them, and how to keep them clean.
Table of Contents
- Why your tools matter
- Face brushes
- Eye brushes
- Makeup sponges
- Precision and finishing tools
- Quality over quantity
- How to use each tool
- Keeping brushes clean
- Storing and replacing tools
- Makeup help at Seda
- Final thoughts
Why your tools matter
You can own beautiful products and still struggle if your tools are not up to the job. The right brush picks up the correct amount of product, places it where you want it and blends it seamlessly into the skin, which is the difference between makeup that looks polished and makeup that looks patchy. Tools also affect how a formula performs: a dense brush gives more coverage, while a fluffy one diffuses colour for a softer effect. Investing a little thought into your kit pays off every single time you apply makeup. The encouraging news is that a small set of well-chosen, well-maintained tools will serve you better than a drawer full of cheap ones you never use.
Face brushes
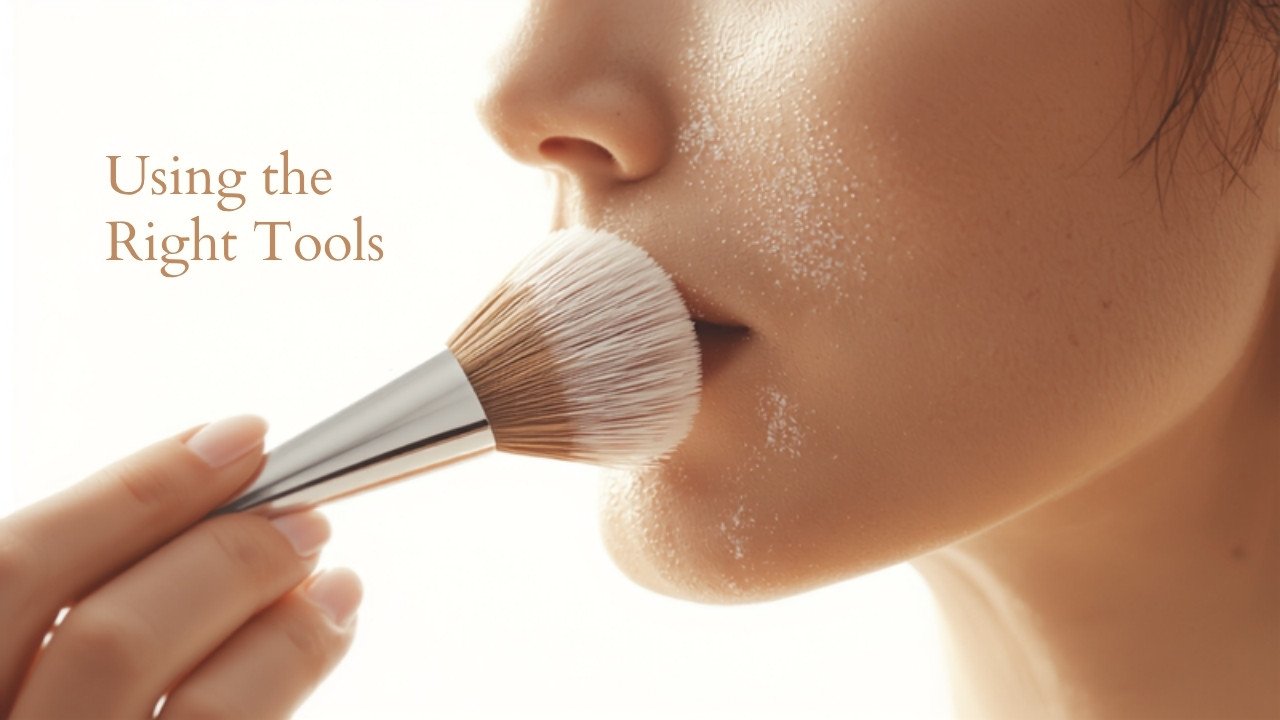
A handful of face brushes covers almost everything most people need. A foundation brush or a dense buffing brush applies liquid base evenly, while a smaller, denser brush works concealer into specific areas. A fluffy powder brush sets the base without disturbing it, and an angled or tapered brush makes blush and bronzer easy to place on the cheeks. If you only buy a few, prioritise a buffing brush for base and a soft powder brush, as these do the heaviest lifting. Synthetic bristles suit liquid and cream products because they do not absorb as much, while natural or soft synthetic bristles are lovely for powders. Together, these create a smooth, natural complexion.
Eye brushes
Eye brushes are small but make a big difference to how shadow looks. A flat shader brush presses colour onto the lid for maximum pigment, while a fluffy blending brush softens edges in the crease so there are no harsh lines. A small pencil brush is useful for detail, such as smudging shadow along the lash line or adding depth to the outer corner. An angled brush turns eyeshadow into liner and helps fill brows. You do not need a dozen; a shader, a blender and an angled brush will handle most looks. Building eye makeup with the right brushes is far easier than trying to blend with fingers or sponge-tip applicators, and the results look much more professional.
Makeup sponges
A damp makeup sponge is one of the most versatile tools you can own. Dampened and squeezed out, it presses liquid or cream products into the skin for a natural, skin-like finish, and it is brilliant for blending concealer and bouncing off any excess. The key is to use it damp, not dry, as a dry sponge soaks up too much product and can drag. Sponges are also handy for pressing powder into areas that need to stay put, such as under the eyes. Because they are used wet and touch the skin directly, sponges need regular cleaning and should be replaced when they show wear, which we cover further below.
Precision and finishing tools
Beyond brushes and sponges, a few small tools refine the finish. Eyelash curlers open up the eyes before mascara, and a clean spoolie brushes through brows and separates lashes. Pointed cotton buds tidy any stray liner or shadow without removing the whole look. Tweezers keep brows neat between appointments, used sparingly. A sharpener keeps eye and lip pencils hygienic and easy to apply. None of these are expensive, but each solves a specific problem and makes your routine smoother. Think of them as the finishing touches that take a look from almost there to genuinely polished, often in just a few extra seconds.
Quality over quantity
It is tempting to buy large brush sets because they look like good value, but a smaller number of quality tools is usually the better investment. Well-made brushes hold their shape, do not shed bristles into your makeup and blend more effectively, which makes application quicker and more enjoyable. They also last for years with proper care, so the cost per use is low. Rather than buying everything at once, build your kit gradually around the tools you reach for most. A good buffing brush, a powder brush, a couple of eye brushes and a sponge will take you a long way. Add specialist pieces only when you find you genuinely need them.
How to use each tool
Technique matters as much as the tool itself. With brushes, use light layers and build up, tapping off excess product first so you have control. Buff base in circular motions for an even finish, then press rather than sweep powder so it sets without moving the makeup underneath. For eyeshadow, pack colour on with a flat brush and blend with a clean fluffy one, using the blending brush in windscreen-wiper motions. With a sponge, bounce rather than wipe to avoid streaks. The golden rule is to add slowly; it is always easier to build colour than to remove too much. A little practice with the right tools quickly becomes second nature.
Keeping brushes clean
Clean tools are essential for both your makeup and your skin. Brushes and sponges collect product, oil and bacteria, which can dull your application and contribute to breakouts if left dirty. As a guide, wash brushes used with liquid or cream products, and sponges, every week or so, and powder brushes every couple of weeks. Use a gentle brush cleanser or a mild soap, swirl the bristles in lukewarm water, rinse until the water runs clear, reshape the head and lay the brushes flat to dry. Never stand wet brushes upright, as water can seep into the handle and loosen the glue. Clean tools simply work better and feel nicer to use.
Storing and replacing tools
Once clean and dry, store brushes upright in a cup or laid flat where the bristles will not get crushed, ideally somewhere dry and away from the bathroom’s humidity. A travel case with a cover protects them on the go. Even with good care, tools do not last forever: replace sponges every few months or sooner if they tear or stain, and retire brushes when they shed heavily or lose their shape. Looking after your tools protects the money you have spent on them and keeps your makeup looking its best. A small, clean, well-organised kit is a pleasure to use and makes getting ready feel effortless.
Makeup help at Seda
If you would like to learn which tools suit your routine, or you want a professional finish for a special occasion, we are happy to help. At Seda Beauty Salon in Waltham Cross, we apply makeup for events, weddings and photoshoots, and we are glad to share practical tips you can use at home, including the brushes and techniques that will make the biggest difference for you. We also welcome clients from nearby Cheshunt and Waltham Abbey. To book an appointment or ask a question, you can call us on 01992 767000 and we will point you in the right direction.
Final thoughts
You do not need an enormous collection to get great results; you need a few good tools, used with a little technique and kept clean. Start with the essentials, a buffing brush, a powder brush, a couple of eye brushes and a sponge, then add specialist pieces only as you need them. Look after your tools and they will reward you with smoother, faster, more flattering makeup for years. Whether you are refining your everyday routine or preparing for something special, the right brushes make all the difference.
Frequently Asked Questions
What makeup brushes does a beginner actually need?
Start with a dense buffing brush for base, a soft powder brush, a flat shader and a fluffy blending brush for eyes, plus a damp sponge. These few tools handle almost every everyday look, and you can add specialist brushes later as you need them.
How often should I clean my makeup brushes?
Wash brushes used with liquids or creams, and sponges, about weekly, and powder brushes every couple of weeks. Use a gentle cleanser, rinse until the water runs clear, reshape and lay them flat to dry. Clean tools apply better and are kinder to your skin.
Should I use a brush or a sponge for foundation?
Both work; it comes down to finish. A buffing brush gives more coverage and a polished look, while a damp sponge presses product in for a natural, skin-like result. Many people use a brush to apply and a sponge to blend and remove excess.
Are expensive brushes worth it?
A few quality brushes usually beat a large cheap set. Good brushes hold their shape, do not shed and blend more effectively, and they last for years with care, so the cost per use is low. Build your kit gradually around the tools you use most.
When should I replace my brushes and sponges?
Replace sponges every few months, or sooner if they tear or stain. Retire brushes when they shed heavily or lose their shape despite cleaning. Good storage, dry and away from humidity, helps your tools last much longer.